
BED INSTALLATION MANUAL
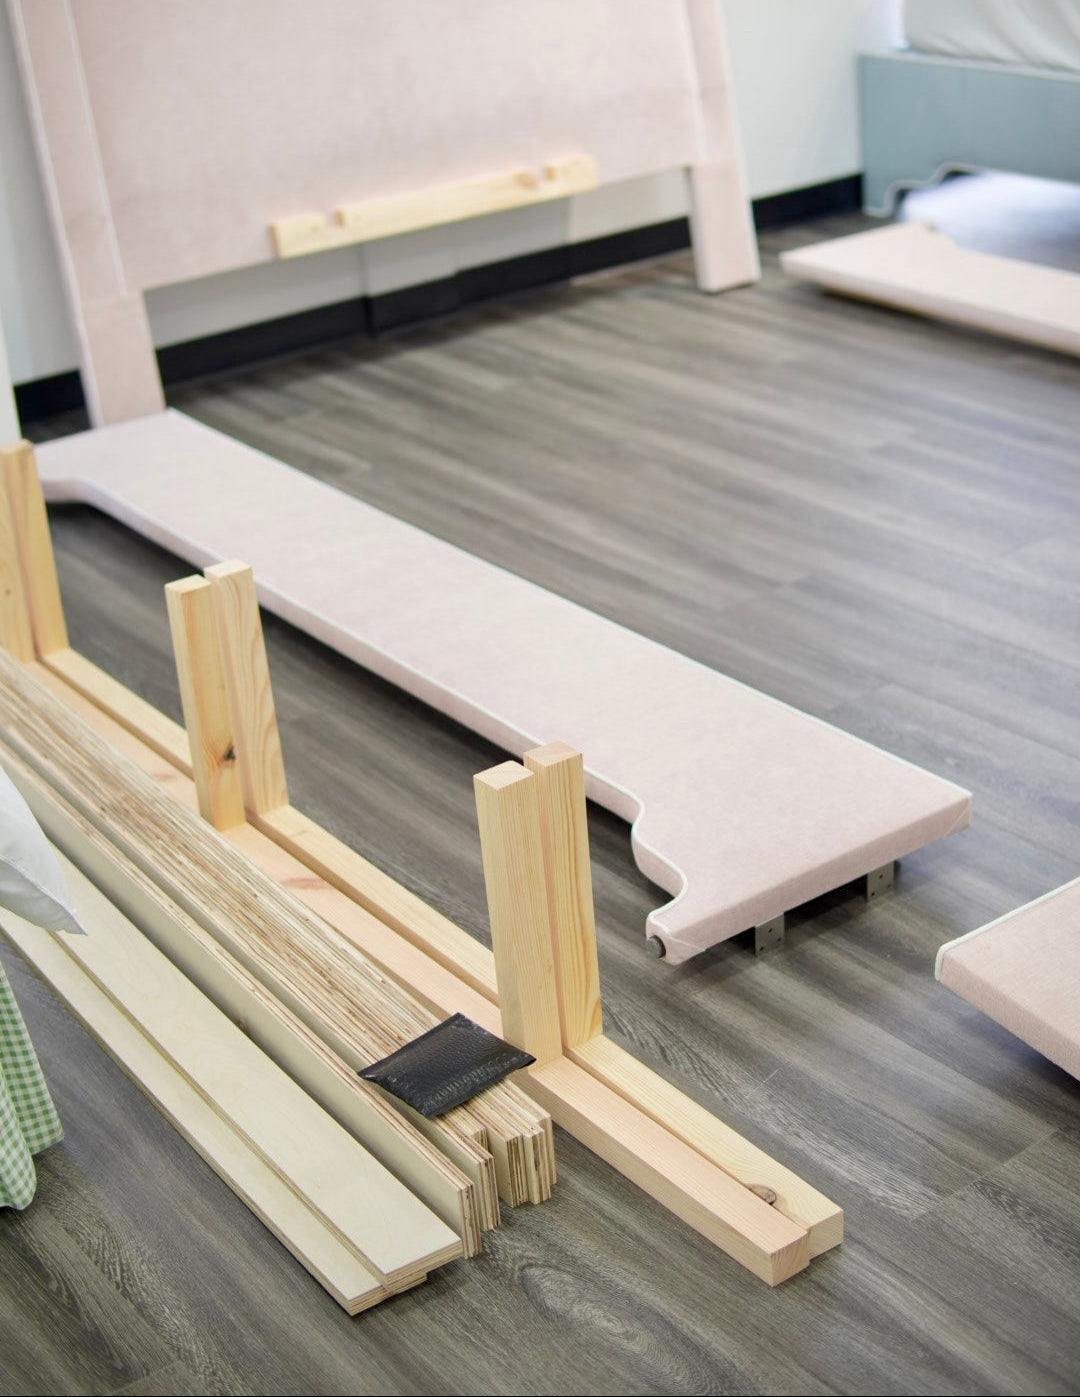
STEP 1 — ARRANGE THE PIECES
Lay out all parts on the floor in the area where the bed will be assembled.
Ensure all parts are present and undamaged before beginning.
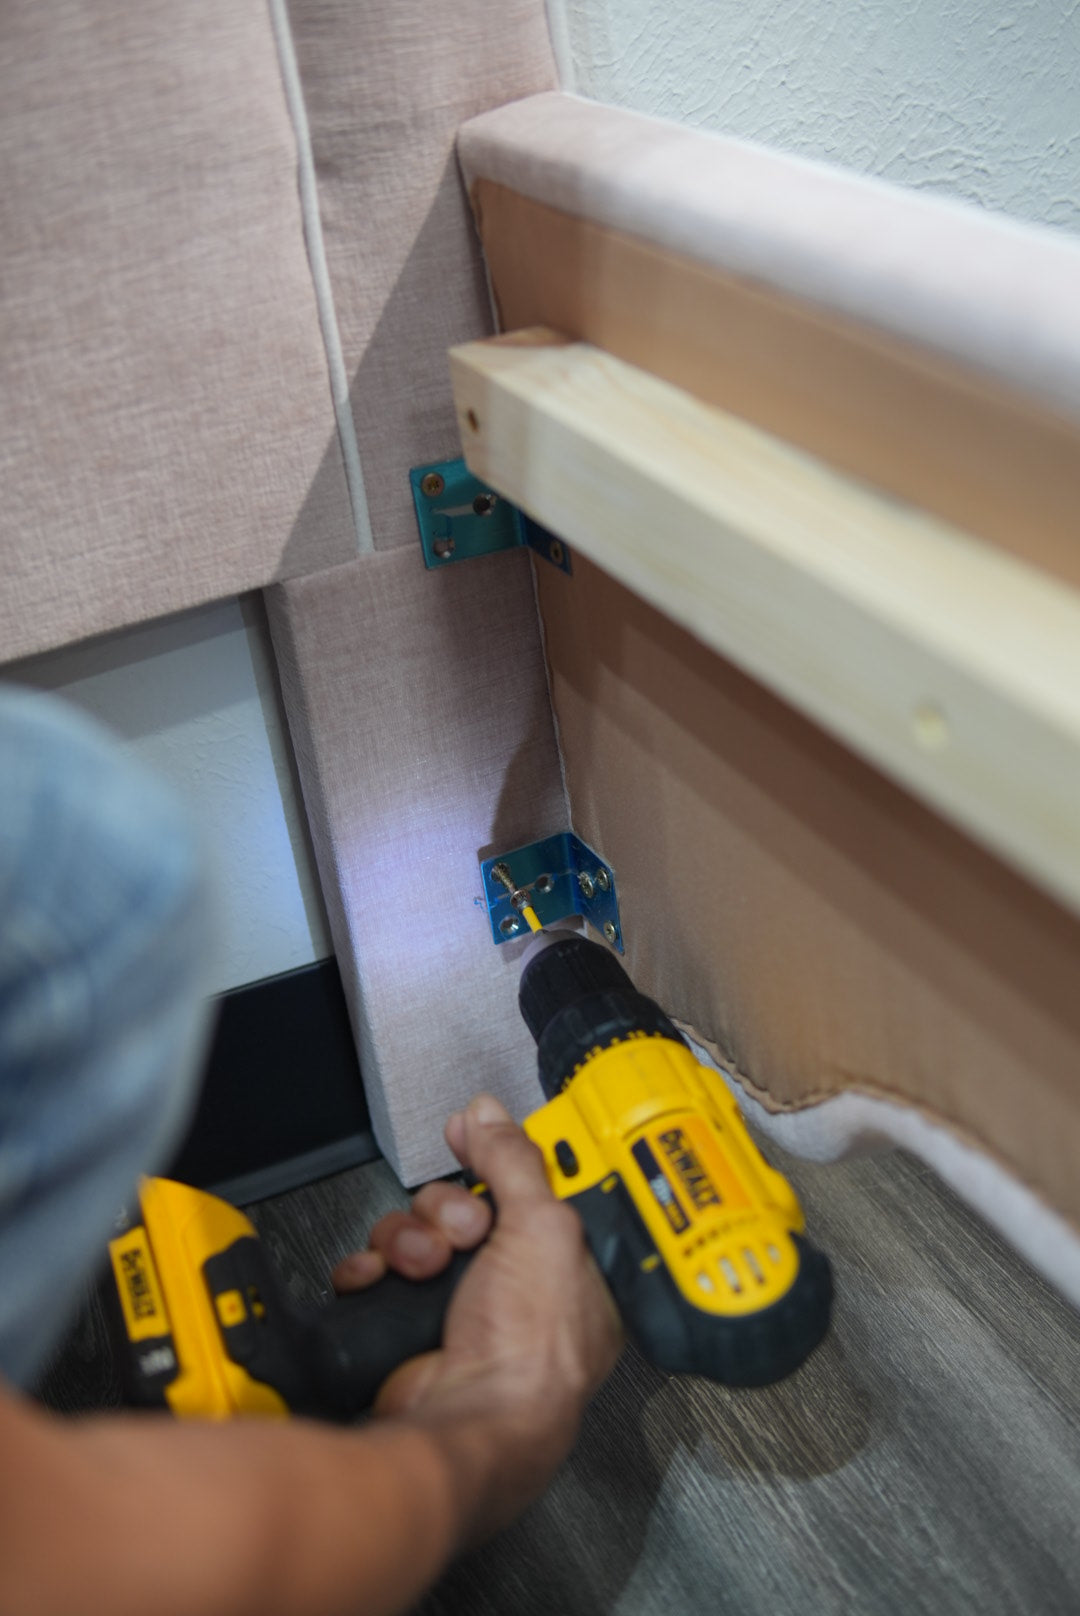
STEP 2 — ATTACH THE BOTH SIDE BOARDS
1. Position the headboard upright.
2. Align one first sideboard with the front of the headboard leg, making sure it’s flush on the outside.
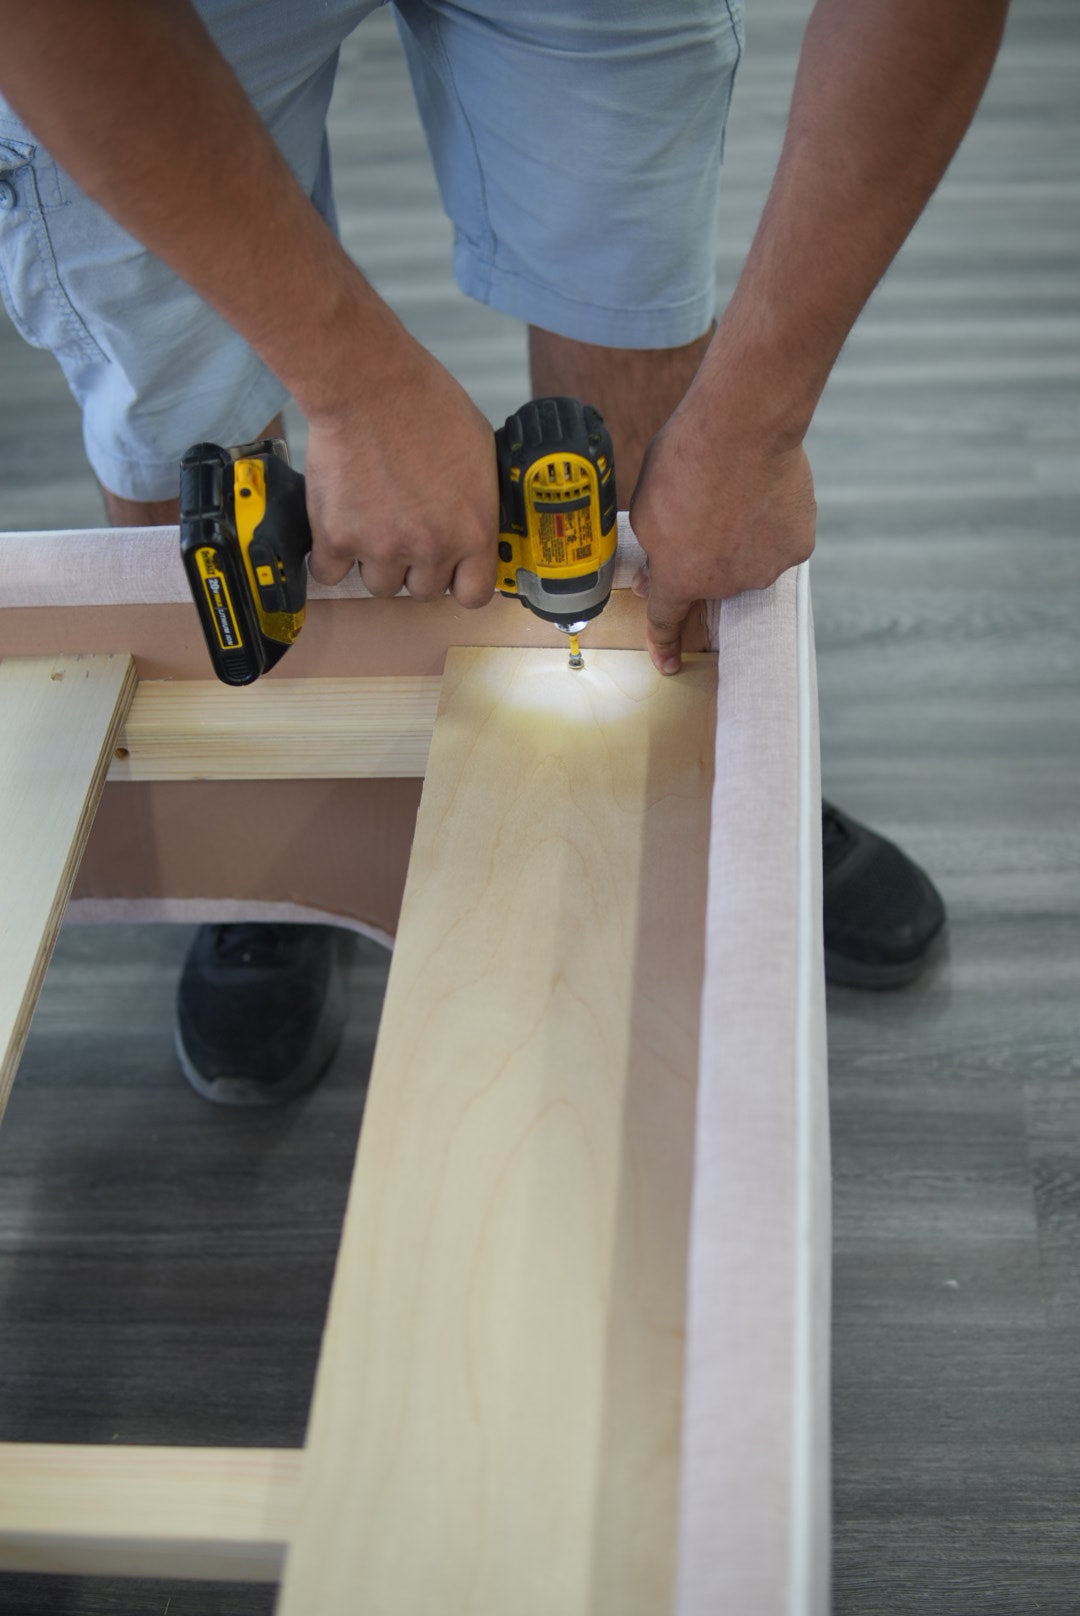
3. Use screws from the hardware bag to secure the side board to the preinstalled L-brackets on the headboard.
4. Tighten firmly, but do not over-tighten.
5. Repeat the same process on the opposite side:
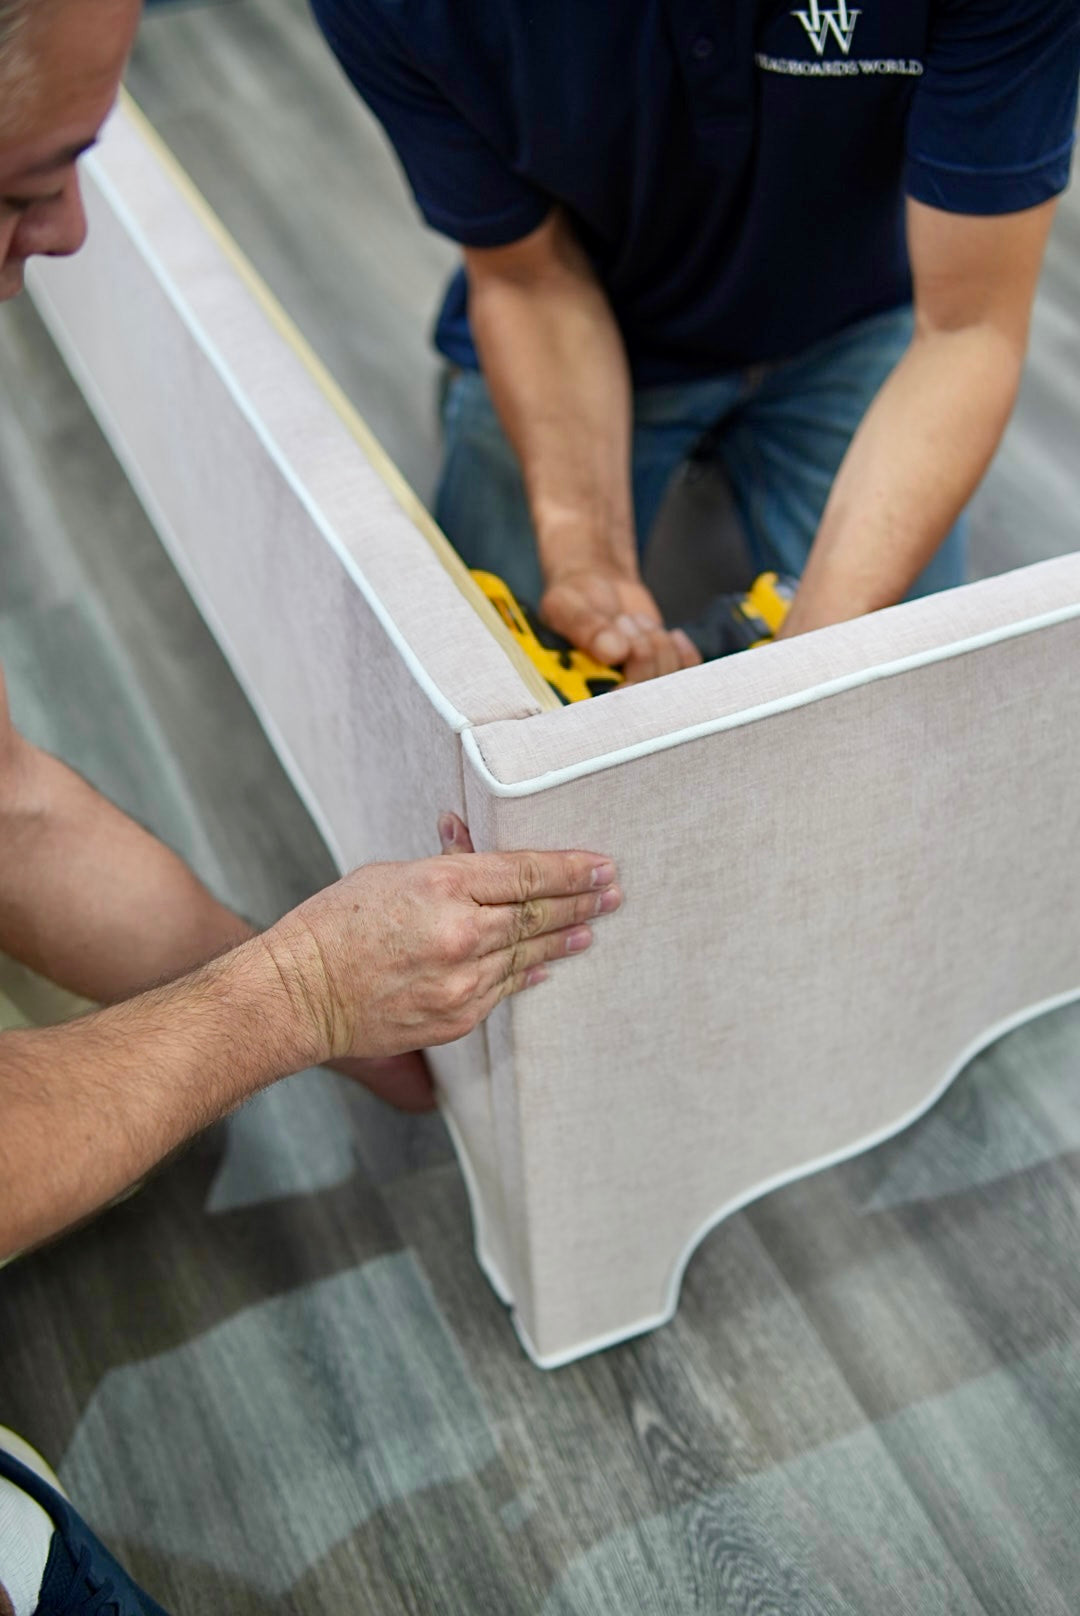
STEP 3 — CONNECT THE FOOTBOARD
1. With both side boards now connected to the headboard, position the footboard at the opposite end.
2. Align the side boards with the inside of the footboard.
3. Secure using screws and the preinstalled L-brackets.
4. Repeat on both sides.
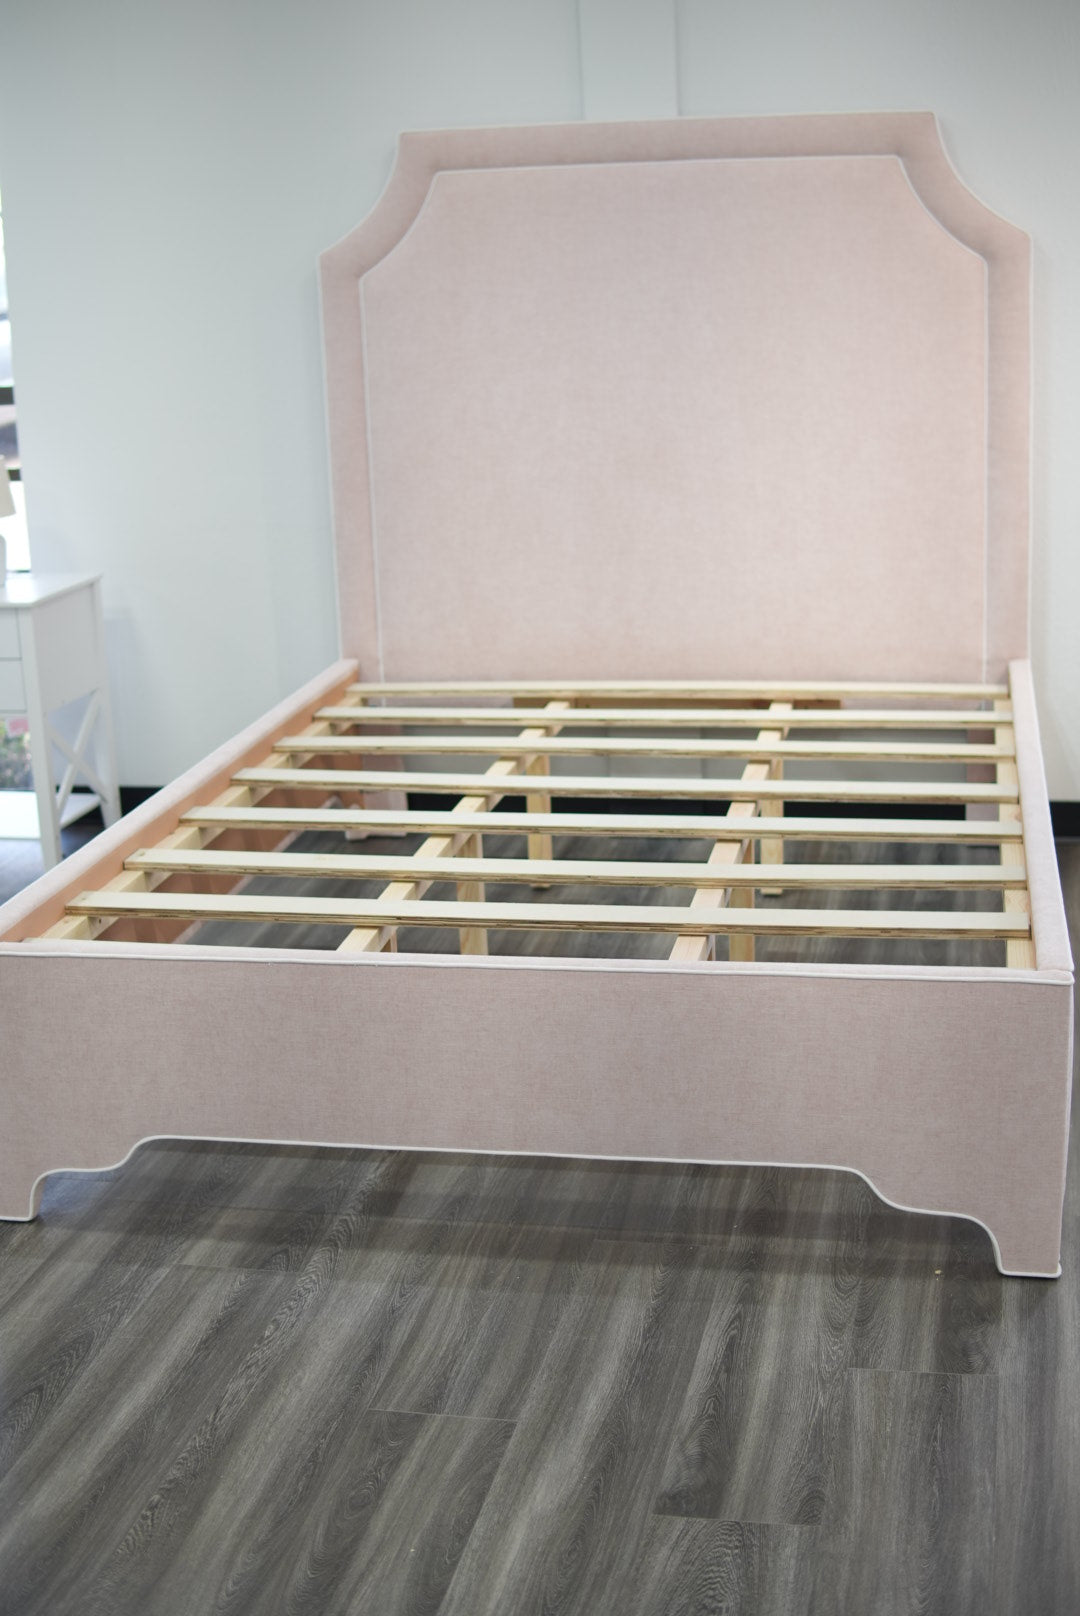
At this point, all four corners should be securely connected, forming the bed frame.
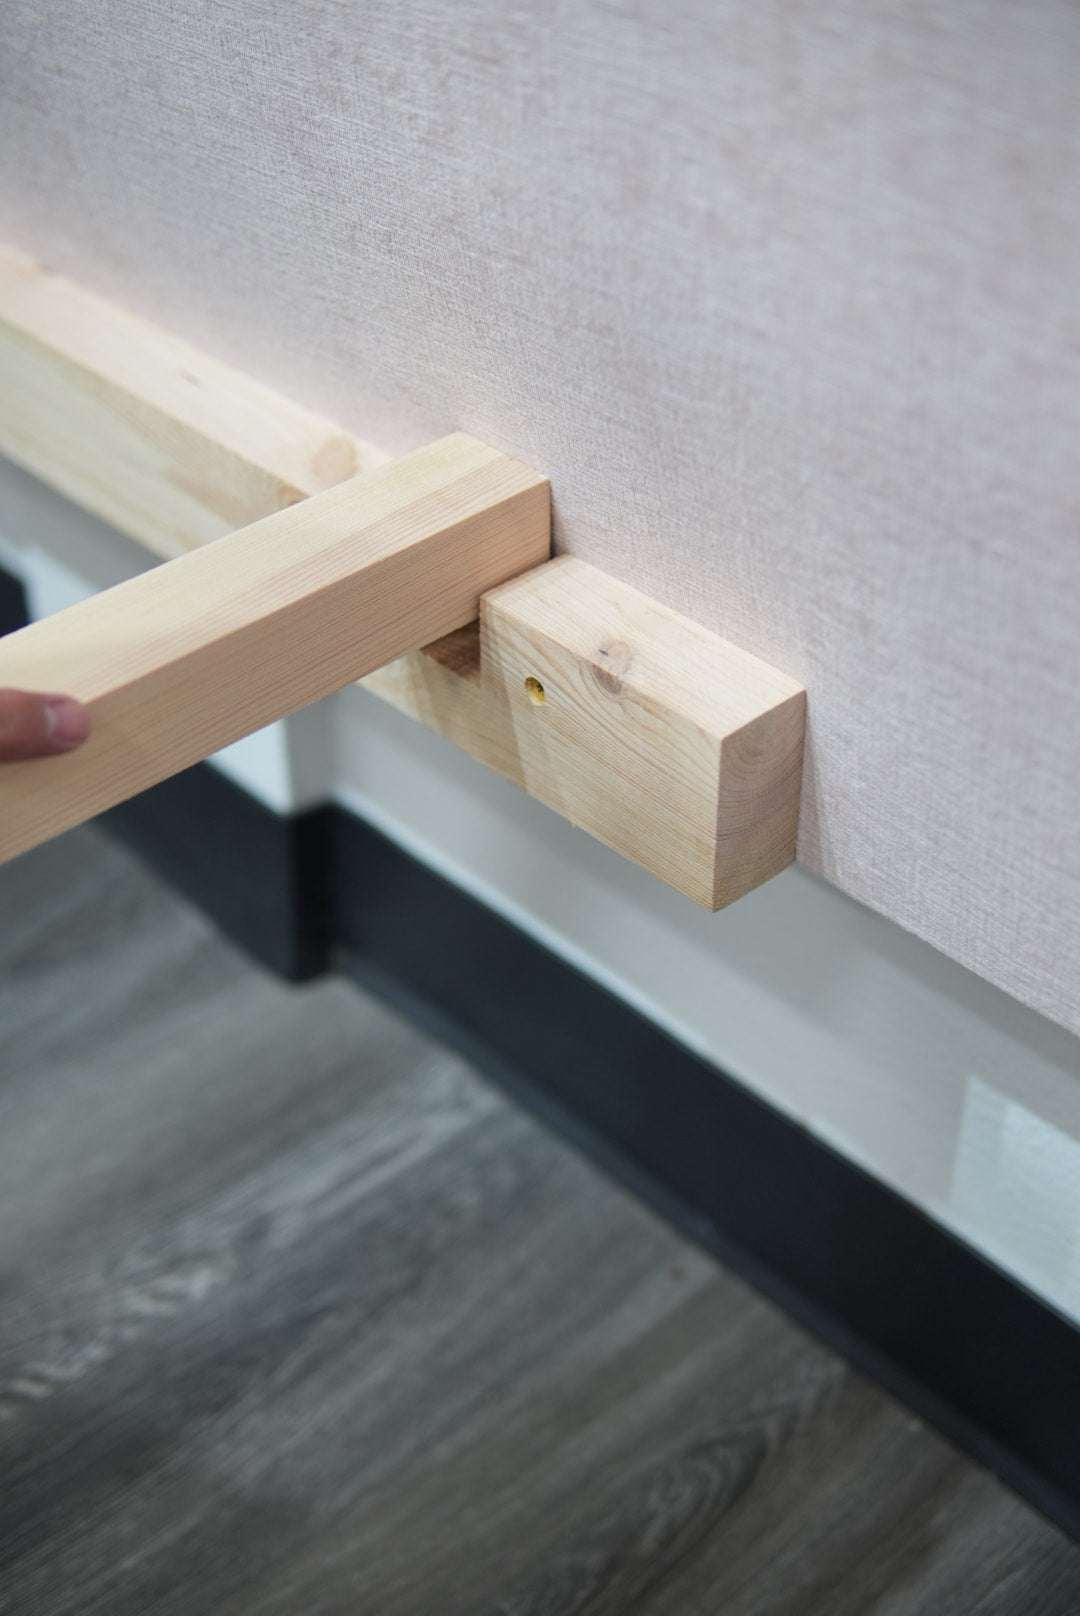
STEP 4 — INSTALL THE CENTER SUPPORTS
1. Locate the two pre-made slots inside the footboard and headboard.
2. Insert the center supports into these slots so they sit firmly in place.
3. Ensure both supports are straight and evenly spaced.
STEP 5 — PLACE THE SLATS
1. Evenly distribute the 8 slats across the frame, resting each one on the inner runners of the side boards.
2. Space them as evenly as possible from head to foot.
3. Secure each slat using screws through the pre-drilled holes on the runners.
STEP 6 — FINAL CHECK
• Confirm all screws are tight.
• Make sure all corners are square and flush.
• The frame should feel stable with no movement or creaks.
Assembly Complete!
Your platform bed is ready for your mattress.